
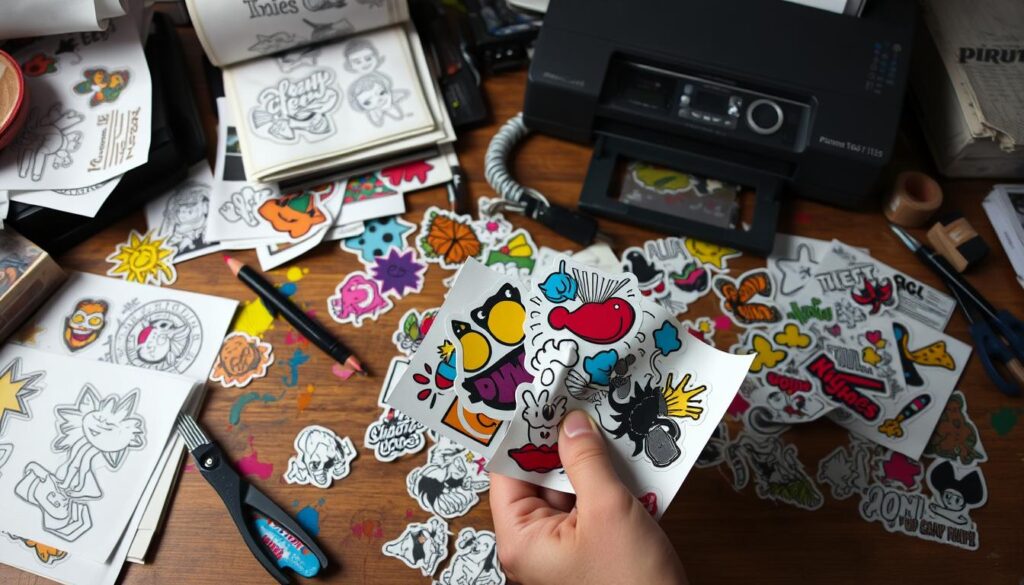
Welcome to our guide on DIY sticker making. Here, you’ll learn to create custom sticker designs and cute stickers that show your personality. This guide is for both crafty beginners and experienced DIY fans.
We aim to teach you how to make your own DIY stickers. You’ll learn about preparing your workspace, printing, and cutting your stickers. We’ll cover the key materials, tools, and techniques for DIY sticker making. Plus, we’ll share tips and tricks for designing and printing your stickers.

Introduction to DIY Sticker Making
In this guide, we’ll walk you through making DIY stickers. You’ll learn about DIY sticker making, custom designs, and cute stickers. You’ll discover how to make stickers that show off your personality and style.
Key Takeaways
- Learn the basics of DIY sticker making and create custom sticker designs
- Discover the essential materials and tools required for DIY sticker making
- Get tips and tricks for designing and printing cute stickers
- Understand how to prepare your workspace for DIY sticker creation
- Learn how to make your DIY stickers weather-resistant and long-lasting
- Explore creative ideas for cute sticker themes and designs
Essential Materials for DIY Sticker Making
To make cute and unique stickers, you need the right sticker materials and tools. Getting these essential items will kickstart your DIY sticker-making adventure. We’ll cover all you need to know about DIY sticker supplies, from basic tools to extra equipment.
Choosing the right paper types is key. You can pick from cardstock, vinyl, and more. The paper you pick depends on your sticker’s design and use. For outdoor stickers, waterproof paper is a good choice.
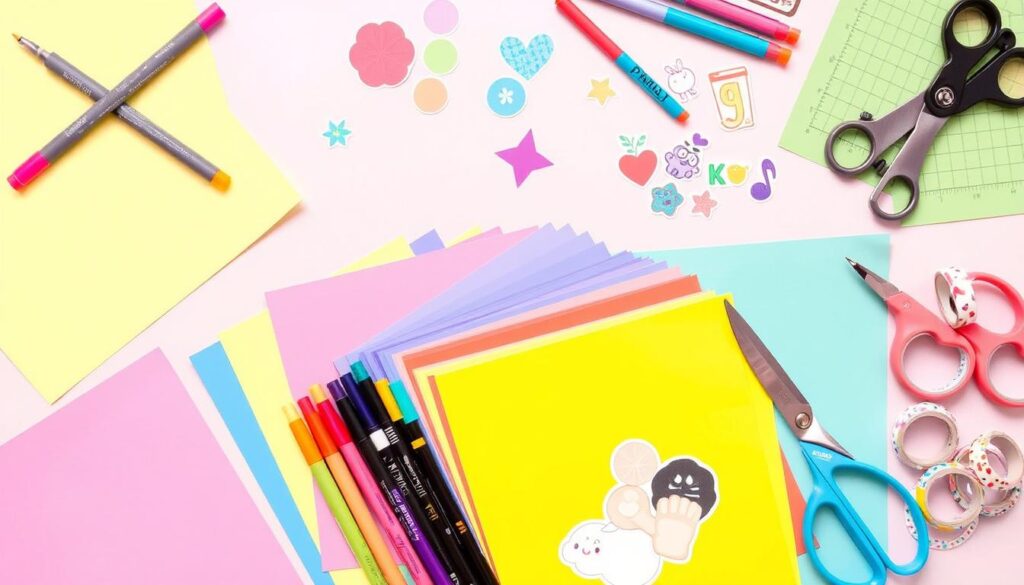
- Paper or vinyl sheets
- Ink or toner
- Cutting tools, such as scissors or a craft knife
- A printer, if you plan to print your designs
For more advanced designs, tools like cutting machines and laminators are handy. With the right materials and tools, you can make stickers that look professional. They’re great for decorating, gifts, or selling.
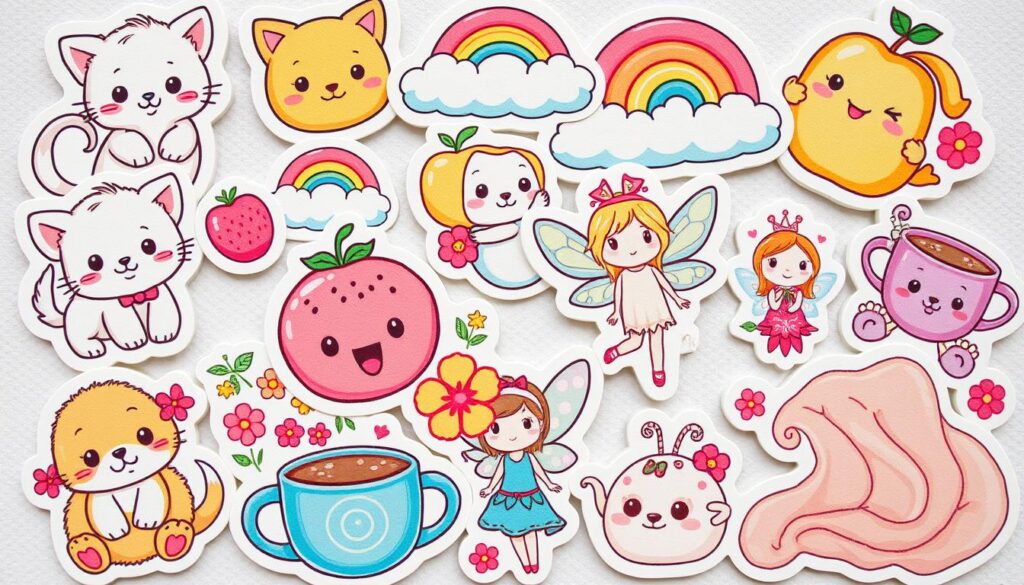
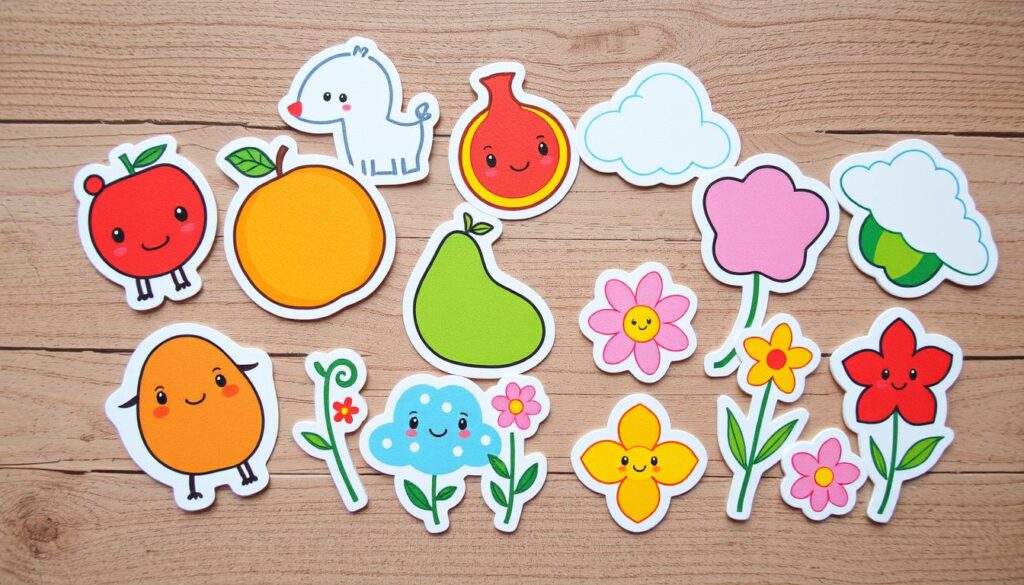
Understanding Different Types of Cute Sticker Designs
Creating cute sticker designs is a fun journey with endless options. You can choose from animals, characters, quotes, and patterns. Think about what inspires you, like a favorite animal or a motivational quote. These ideas can help you make unique and personal designs.
Looking at trends can spark your custom sticker ideas. Check out social media, design blogs, and online stores for popular stickers. Make a list of designs you like and think about how to add your own twist. Some popular ideas include:
- Animal designs, such as cats, dogs, or birds
- Quote stickers, featuring inspirational or funny sayings
- Pattern stickers, including stripes, polka dots, or chevrons
Creating great cute sticker designs is all about having fun and being creative. Try different colors, shapes, and themes to match your style. With practice and patience, you can share your unique custom sticker ideas with the world.
For more inspiration, look at other designers’ work. Notice how they use color, texture, and composition. You can also mix different elements, like animals and quotes, to create something new. The possibilities are endless, and with a bit of sticker inspiration, you can make designs that stand out.
Preparing Your Workspace for Cute Sticker DIY
To make a good DIY workspace, set up a sticker making station. This keeps you organized and focused. A tidy workspace is key for making stickers well, letting you find what you need easily.
Think about what organization tips work for you. Look at the space you have and the materials you’ll use. A clean, well-lit area makes working easier. A good desk and storage keep things neat.
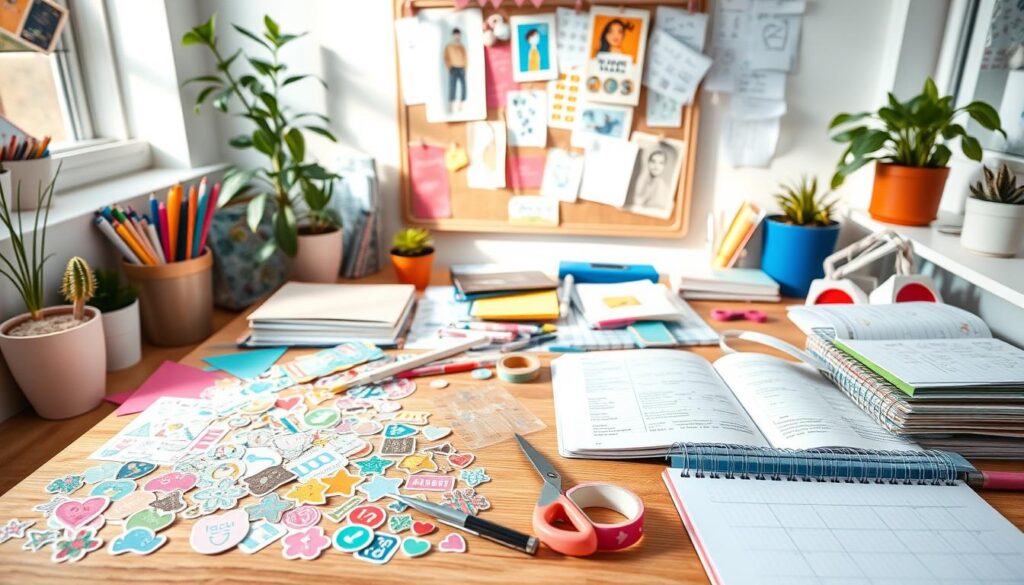
Setting Up Your Creative Station
Setting up your creative station is key. Think about the projects you’ll do and what tools and materials you’ll need. A dedicated station keeps you organized and focused. Plan your workspace layout to fit your needs.
Organizing Your Materials
Keeping your materials organized is vital. Use bins and labels to keep things tidy and accessible. This saves time and reduces stress. Good organization helps you stay focused on your craft.
Follow these tips to set up a great DIY workspace. Think about your layout and organization to make your space comfortable and effective.
Digital Design Methods for Stickers
Digital design methods open up a world of creativity for making unique stickers. You can use software like Adobe Illustrator and Canva to design your own stickers. These tools offer many design tips and features to help you start.
Using digital design for stickers has many benefits. You can easily change your designs and print them at home or through a professional service. It also lets you make detailed designs that traditional methods can’t match.
To start designing stickers digitally, pick a software that fits your needs and skill level. Some top choices are:
- Adobe Illustrator: A top design program with lots of tools and features.
- Canva: A user-friendly platform with many templates and design elements.
After choosing your software, explore the design tips and tools it offers. With practice and patience, you can make stickers that show off your style and creativity.
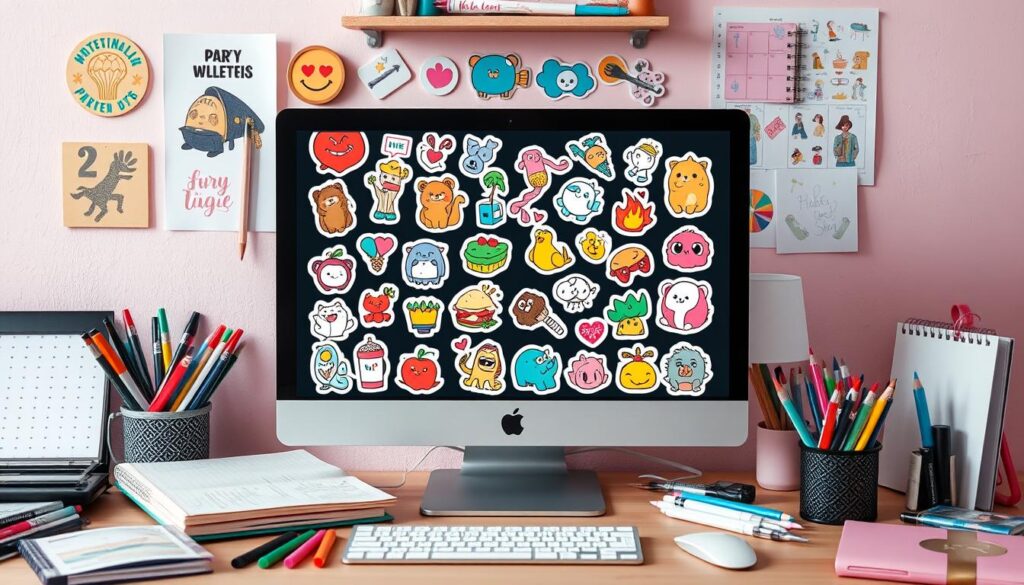
Follow these tips and use the right software to make custom stickers. They’re great for decorating laptops, water bottles, or any item you want to personalize. So, why not try digital design and see what you can create?
Hand-Drawing Your Sticker Designs
Creating hand-drawn stickers is fun and rewarding. It lets you add a personal touch to your DIY stickers. First, you need to learn basic sketching techniques. These skills will help you make unique designs for your stickers.
For coloring, try out different tools like markers, colored pencils, and watercolors. Each tool gives a special look to your stickers. For instance, markers make colors bold and bright, while pencils create softer shades.
Sketching Techniques for Beginners
- Start with basic shapes and lines to create simple compositions
- Practice drawing from observation to develop your skills
- Experiment with different mediums, such as pencils and markers
Coloring Methods for Hand-Drawn Stickers
After mastering sketching, you can explore coloring methods. This is where your creativity really shines. You can play with colors and techniques to make your designs pop. Here are some popular ways to color your stickers:
| Coloring Method | Description |
|---|---|
| Markers | Bold and vibrant colors, great for creating bold designs |
| Colored Pencils | Softer, more subtle hues, perfect for creating delicate designs |
| Watercolors | Transparent and fluid, ideal for creating dreamy, ethereal designs |
By learning these techniques, you can make beautiful hand-drawn stickers. They will show off your personal style and creativity.
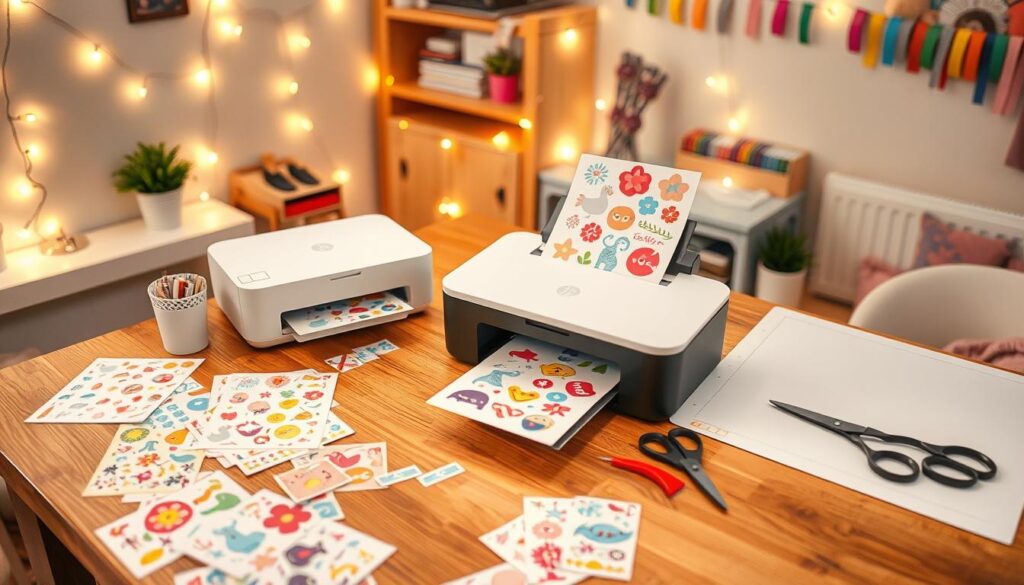
Printing and Cutting Techniques
Creating your own DIY stickers involves sticker printing and cutting techniques. The right tools and methods are key to quality prints and cuts. You can use an inkjet printer or a cutting machine, depending on your design and material.
Popular cutting techniques include scissors, craft knives, or a cutting mat. A cutting machine, like a Cricut or Silhouette, offers precise cuts. For sticker printing, you can choose from vinyl, paper, or cardstock.
Here are some tips for top-notch sticker printing and cutting techniques:
- Choose the right paper for your design
- Adjust your printer settings for the best quality
- Use a cutting machine for accurate cuts
- Try different cutting techniques to find what works best
Follow these tips and use the right tools to make your own unique DIY stickers. Whether you’re into sticker printing or cutting techniques, the fun is in experimenting.
Making Your Stickers Weather-Resistant
To keep your cute stickers looking good, make them weather-resistant. You can do this by waterproofing and adding UV protection. These steps help your stickers stay bright and strong, even when it’s wet or sunny.
Waterproofing is a key method. You can add a clear coat or varnish to keep water out. UV protection also helps, keeping colors from fading when it’s sunny.
Waterproofing Methods
- Laminating: This involves applying a thin layer of plastic to the sticker, which helps to protect it from water and moisture.
- Varnishing: Applying a clear varnish to the sticker can help to repel water and prevent damage.
- Clear coats: Applying a clear coat to the sticker can help to protect it from the elements and extend its lifespan.
UV Protection Options
UV protection is also key for weather-resistant stickers. You can use UV-resistant materials or a UV-protective coating. Here are some good options:
- UV-resistant vinyl: This type of vinyl is specifically designed to withstand UV rays and prevent fading.
- UV-protective sprays: These sprays can be applied to the sticker to provide an extra layer of protection against UV rays.
By using these methods, your stickers will last longer. They’ll stay bright and strong, whether indoors or outdoors.
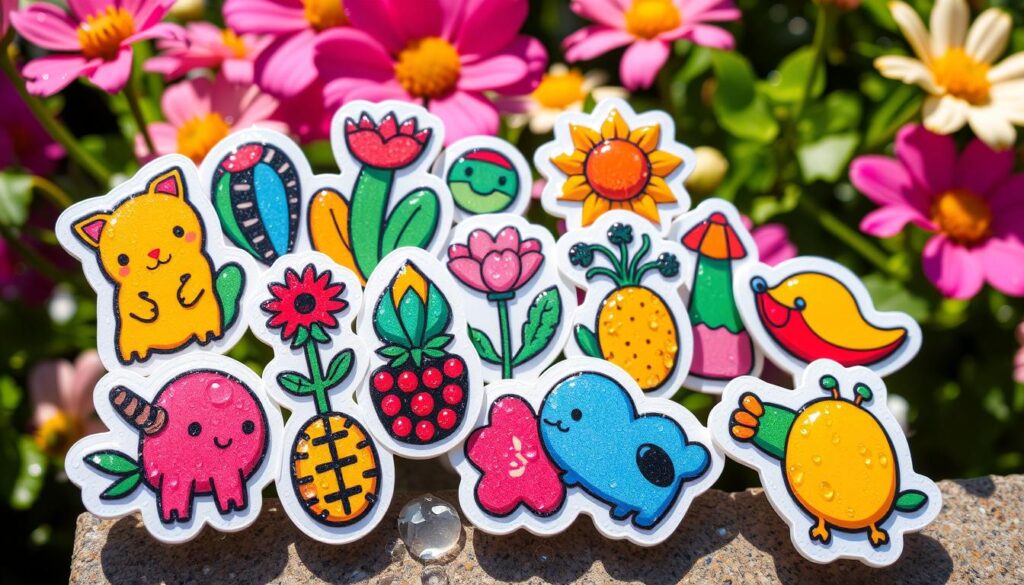
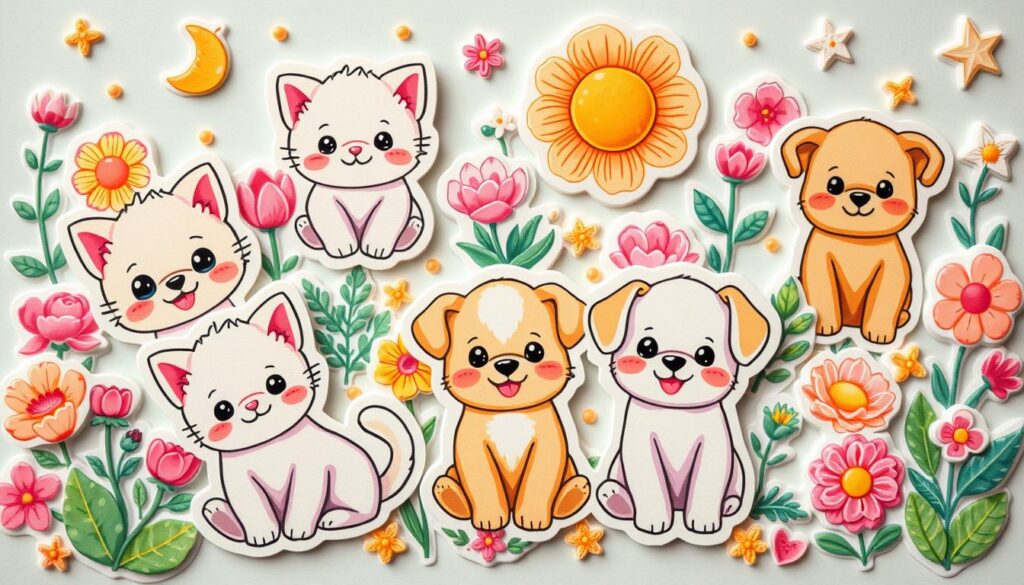
Creative Ideas for Cute Sticker Themes
Creating cute stickers is all about endless possibilities. Choosing a theme is the most exciting part. Themes can be animal-inspired designs, kawaii style, or even nature and plants. Start by thinking about what you love and what inspires you.
Looking at current trends can help spark your ideas. Check out social media, craft stores, or online shops. You’ll find lots of cute sticker themes like:
- Animal-inspired designs, such as cats, dogs, and birds
- Kawaii style elements, like cute food, animals, and objects
- Nature and plant motifs, including flowers, trees, and leaves
After picking a theme, brainstorm ideas for your stickers. Think about colors, shapes, and designs that fit your theme. Try different materials and textures to make your stickers stand out. With creativity, you can make stickers that show off your personality.
Remember, the most important thing is to have fun and be creative. Don’t be scared to try new things and explore different designs. With time and effort, you’ll find your own unique style and make stickers that are truly special.
Troubleshooting Common Sticker-Making Problems
When making DIY stickers, you might face sticker making problems that can be frustrating. These issues can slow down your creative process. To help you solve these problems, we’ve gathered some useful troubleshooting tips. These tips will make sure your sticker-making journey is fun and successful.
Some common issues you might run into include ink bleeding, paper jams, and cutting mistakes. To avoid these problems, it’s key to use top-notch materials and follow the right techniques. For example, picking the right paper and ink can help prevent ink bleeding. It also ensures your design looks sharp and bright.
- Check your printer settings to ensure they are compatible with your sticker paper
- Use a cutting mat to prevent cutting errors and damage to your work surface
- Apply a clear coat of varnish to protect your stickers from moisture and wear
By following these troubleshooting tips and being aware of potential sticker making problems, you can make stunning, professional-looking stickers. These stickers will highlight your designs beautifully. Remember to stay patient and don’t be afraid to try new things. With practice, you’ll master making your own DIY stickers and tackle any common issues that come your way.
Packaging and Storing Your Handmade Stickers
After making your handmade stickers, it’s key to package and store them right. This keeps their quality and look good. Good sticker packaging stops damage, fading, or smudges. It also makes them simpler to carry and show off.
For storage solutions, you have many choices. You can use sticker sheets, bags, or containers to keep them safe and tidy. Or, for a creative twist, use display cases or containers with dividers. This shows off your stickers and keeps them in order.
For presentation ideas, mix storage and display methods. A storage container with a clear top can show off your stickers. Or, make a display case with separate spots for each sticker design. This keeps them neat and makes them look great and easy to find.
- Use acid-free materials to prevent damage or discoloration
- Keep your stickers away from direct sunlight or moisture
- Use a consistent storage method to keep your stickers organized
- Consider using a label or tag to identify each sticker design
Conclusion: Taking Your DIY Sticker Creation to the Next Level
Creating cute, personalized stickers is a fun DIY adventure. You’ve learned the basics and now you can explore more. Try new materials, designs, and styles to make your stickers stand out.
The sticker world keeps changing with new trends and ideas. Keep learning by watching tutorials, joining groups, and trying new things. It’s all about having fun and feeling proud of your creations.
Stickers can add a personal touch to your day. Use them in your planner or on letters. Let your stickers show who you are and share them with others to brighten their day.
FAQ
What essential materials and tools do I need for DIY sticker making?
For DIY sticker making, you’ll need basic tools like paper, ink or a printer, and scissors or a cutting machine. You’ll also need adhesive. Optional tools include a laminator or advanced cutting machines for complex designs.
How do I create different types of cute sticker designs?
You can make cute stickers with animals, characters, patterns, or quotes. Use digital design software or draw by hand. The key is to find inspiration and try different styles to find what works for you.
What’s the best way to set up my workspace for DIY sticker making?
An organized workspace is key for DIY sticker making. Have a dedicated area with enough space, good lighting, and easy access to tools. Think about your needs, whether digital or traditional, and keep your space tidy and comfortable.
How do I print and cut my sticker designs?
You can print and cut stickers with inkjet printers or cutting machines. Choose the right method for your materials and designs. Follow best practices for high-quality results.
How can I make my stickers weather-resistant?
To make stickers weather-resistant, use waterproofing methods like laminating or applying a clear coat. Choose UV-resistant materials and finishes to prevent fading from sunlight.
What are some creative ideas for cute sticker themes?
Cute sticker themes can come from many places, like animals, kawaii, or nature. Try different design elements to find what you like best.
How can I troubleshoot common sticker-making problems?
Common problems include ink bleeding, paper jams, and adhesive issues. Be proactive in solving these problems. Try different techniques and materials to find solutions.
How should I package and store my handmade stickers?
Proper packaging and storage keep your stickers in great shape. Look into sticker sheets, bags, and display cases. Use creative ways to show off your designs.